A Step-by-Step Guide to Professional Sign Installation
Sign Installation is more than just a task; it’s a craft. It’s crucial to ensure precision, durability, and safety throughout the installation process. As a business owner or commercial real estate broker, it’s important to work with a company that can manage your local sign installation without headaches. Knowing the ins and outs of sign installation can help you make decisions about which companies to work with.
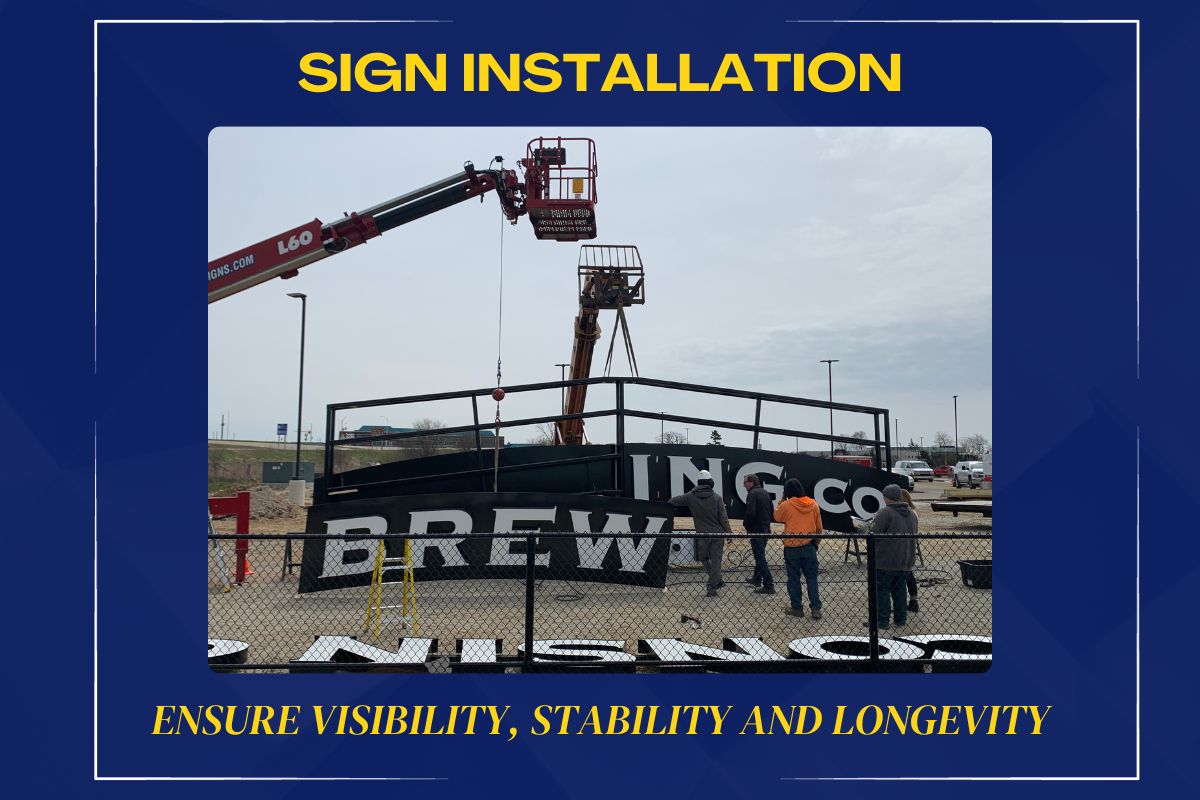
Let’s break down the steps involved in a sign install.
1. Preliminary Site Survey
Before any tools are touched:
- Inspect the Location: Analyze the chosen location for any potential obstructions, the best angles for visibility, and any challenges the terrain may present.
- Safety Considerations: Check the site for hazards, like overhead power lines or nearby traffic.
- Compliance with Local Regulations: Understand and adhere to local zoning and signage laws to avoid any legal complications. Be sure to check out on-property or off-property regulations.
2. Tool Preparation
Ensure you have:
- A fully charged drill with various bits
- The right type of fasteners (screws, bolts, or anchors)
- A dependable level
- Measuring tape
- Sturdy ladder or scaffold (for elevated signs)
- Necessary safety gear
Working with companies that have installation trucks, such as bucket trucks, can make the process more efficient for you so you don’t have to work with third parties.
3. Sign Inspection
Before installing:
- Review the sign for any damages or defects.
- Check if all components, especially for modular signs, are present.
- Test any electrical parts before mounting.
4. Precise Measurements
Accuracy is non-negotiable:
- Determine the exact position of the sign.
- Measure and mark where the screws or bolts will go.
- Always use a level to ensure the sign will be perfectly straight.
5. Secure Installation
Your mounting method will depend on the sign type and the surface:
- Wall-mounted Signs: Affix the sign using the chosen fasteners after drilling the marked spots.
- Ground-mounted Signs: For posts, dig holes deep enough to ensure stability. Once posts are positioned and leveled, pour concrete to secure them. After drying, attach the sign.
- Hanging Signs: Attach durable chains or ropes to the sign first. Secure these to the overhead structure, ensuring even weight distribution.
6. Handling Electricals (if applicable)
For illuminated signs:
- Always disconnect the power before beginning.
- Carefully connect the sign’s electrical components.
- Test the sign post-connection to ensure functionality.
- Always consider partnering with an electrician for this phase.
7. Post-Installation Checks
- Assess the sign’s stability. It shouldn’t show any movement.
- Verify its visibility from various viewpoints.
- Clean the sign of any dust, debris, or fingerprints.
8. Brief on Maintenance
Once the sign is up, advise the client:
- To clean the sign periodically.
- To inspect the sign after severe weather events.
- On how to check the functioning of illuminated signs and when to call for electrical inspections.
And better yet, working with a local sign installation company that offers repair and maintenance services can prevent a lengthy search for more service providers.
Sign installation requires attention to detail, adherence to safety protocols, and a commitment to precision. By following these outlined steps, not only will the sign be installed correctly, but it’ll also last for years, showcasing the quality of your craftsmanship. Always prioritize safety and quality over speed.